
Yesterday
we introduced the new challenge on the Sparkle N Sprinkle Creative Challenges Blog and I promised to show how I made my Faux Metallic Shaker Box. I used a fun technique to get the metallic
look that I think you will enjoy.

Supplies:
White
Cardstock
Scoring
Tool
Embossing
Ink
Embossing
Powder
Stamps
Permanent
Ink
Dies
and Punches
Plastic
Packaging
Micro
Glass Beads
Small
Funnel
Embellishments
When
making a box you first need to determine the size you want. For the bottom of the box, you will add the
size of the box to 2 times the height you want.
For the top you will take the same box size, add 1/8”, and then add 2
times the height you want the lid.
For
my box I used the following:
Bottom
– 3 ¾” box + (1 ¾” sides x 2) = 7 1/4” square
Top –
3 ¾” box + 1/8” = 3 7/8” + (¾” sides x 2) = 4 5/8” square

Take
each piece and score it on each side using the side measurement. I scored 1 ¾” from the edges on all four
sides of the bottom and ¾” from the edge on all four sides of the top. Fold on the scored lines.

Cut
on the score lines on two opposite sides up to the first vertical score line
for both pieces.

They
should look like this.

Now
for the fun technique. You will fold in
all the sides and flaps so that only the side section you are working on will
show. Use a scrap of cardstock to mask
that section and add VersaMark ink.
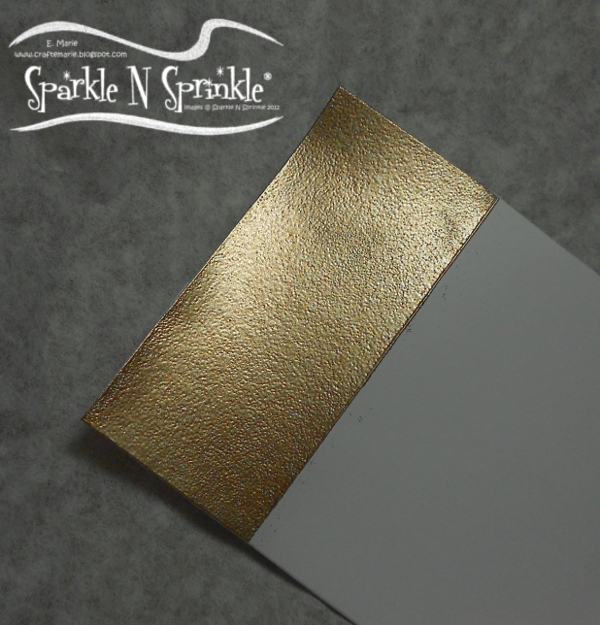
Add embossing
powder and heat set. Repeat this step
3-4 times until you have a nice thick coating.
You will do this for every side section on the top and bottom pieces. On
the top piece you will want to extend the embossing at least ½” onto the top
section as these edges will show around the shaker window.

Working
quickly, add ink to the feather image, heat one area at a time until the
embossing becomes molten, and stamp into the molten EP firmly. Allow it to cool before removing the stamp
gently. Repeat this, stamping feathers
on all the sides of both the top and bottom pieces.

Add
adhesive to the four corners of each piece and tape them to the inside to
assemble the box. The actual box is now
complete. (Note that I sponged a little
ink on the side flaps on the inside of the box to make the inside look a little
nicer).
You can add a punched border
strip around the edges of the top, if you desire.

Now
it is time to work on the “shaker window” for the top of the box. You can actually purchase shaker pouches but
I have found that many of the products we buy come enclosed in dimensional
plastic packaging that works great. That
is what I used.
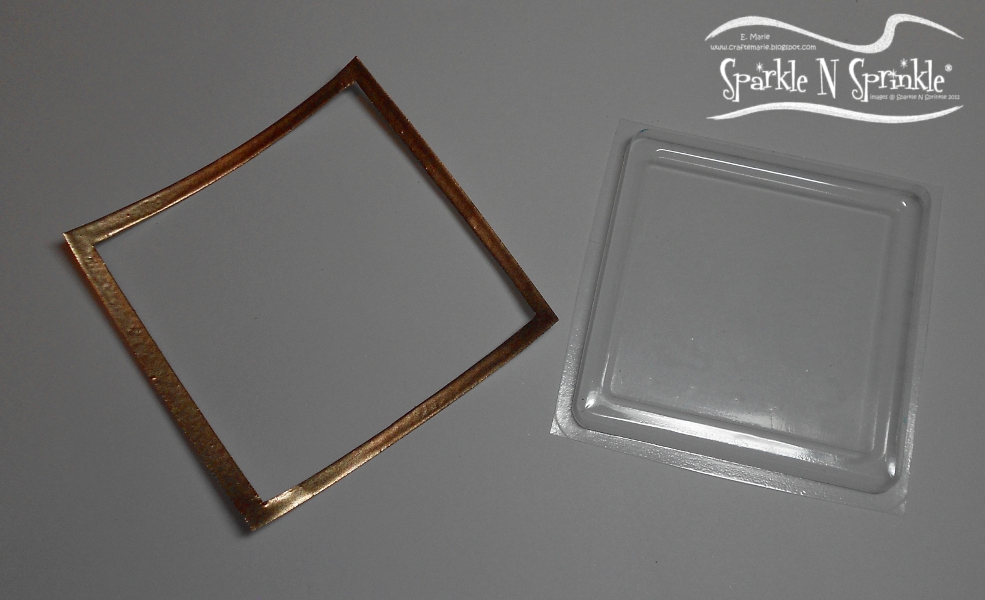
Using
square dies, cut a window from a piece of cardstock slightly larger than the
raised section of the plastic packaging.
Use the next larger size square die to cut this into a frame and add a
thick layer of embossing powder, using the same technique as the box. Adhere around the plastic packaging.

Punch
around a 3 ¾” square of white cardstock and stamp with the image or sentiment
you want in the window. Add this to the
top of your box.

Run
"Tear-ific" tape around all four sides of the framed plastic
“window”, making sure add edges and corners are covered so no glass beads can
leak out. Remove the protective layer on
three sides and adhere to the top of the box.
Tuck the end of the funnel under the open side and pour in the
beads. Remove the funnel and the remaining
protective layer and press edge down firmly to the box top.

This
little box can be used as a decorative piece or as a great gift box. Have a wonderful week and come back next Tuesday
for another technique!!
E. Marie
Sparkle
N Sprinkle supplies use”
3 comments:
Morning Marie, This is stunning and your tutorial is amazing and easy to follow thank you x
Great tutorial. How did you do the eggs? Are they beads?
Absolutely lovely box Marie. And fabulous tutorial and pics. Very pretty - great share!
Post a Comment