
I’m loving these adorable bunnies from Sparkle and Sprinkle’s new Stamp Set 426 - Easter Chicks (00-426P4) so I just had to use one for today’s card.

This card is 5” x 7” to give me additional room for my “carrot”. I ran a piece of light orange cardstock through an embossing folder and lightly sanded the embossing to give it a polkadot look. I layered this on a green card base, leaving a small green border around the edges. I used a bunny border punch on both a white and green 2” x 6” piece of cardstock. After punching one long side of each color, I cut off the access width, leaving one inch below the punched image on the green strip and 7/8” on the white strip. Then I layered the white strip on top of the green strip, lowering it slightly offset to allow a peek of green at the top and one side of bunnies and grass, and 1/8” at the bottom of the strip. When I use this technique of layering punched borders, I always use pieces a bit longer than I need to give me some flexibility in lining up the punched images and placing them where I want on the card. Then I trim them down on the sides to get the size I need. I trimmed this border to a final length of 5”. I ran ribbon across this border and layered it on the card about 2” from the bottom.
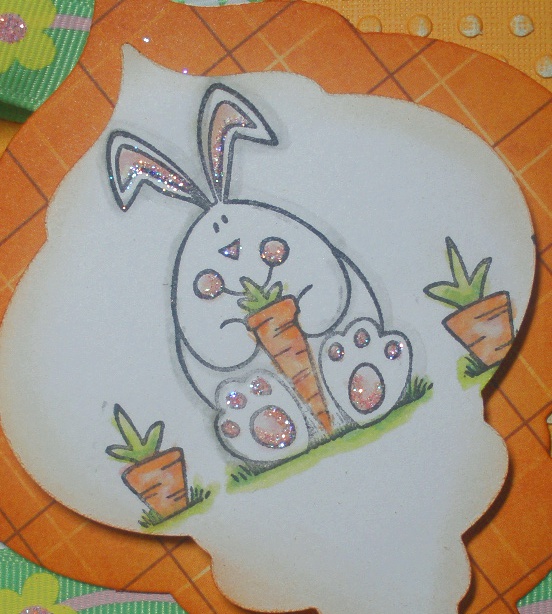
I used “Got Carrots?” (3440-426K) for the main image. I stamped this adorable bunny with Stazon Jet Black Ink (99704) on white cardstock. I used watercolor pencils (99541) and a Dove Blender Pen (99535) to color the image and then used a Spellbinders Heirloom Ornament die (SB100) to cut it out. I lightly sponged orange ink around the edges and then used foam dots to pop it onto orange decorative paper cut out with a slightly larger ornament die, also sponged along the edges with orange ink. I used the same ribbon from the border, looped it three times, and adhered it behind the top of the ornament dies. I layered my “carrot” onto the front of my card.

For the sentiment, I used Easter Borders (3434-426G) and stamped it in orange onto white cardstock. I cut it out and embossed it with a decorative label die and then used the embossed oval center to cut it out. I layered this on top of a pink decorative label and layered it at the bottom center of the card. Using a Sakura Glue Pen (99202), I added Bubble Gum Semi-transparent glitter (G1088) around the edges of the label, the flower centers on the ribbon, and the bunny paws and ears.
Look forward to seeing more bunnies and chicks from this great stamp set in the near future.
This card was entered into the following challenges:
Crazy4Challenges C4C75 – use dies
Creative Inspiration Challenge Blog #53 – Distress
DYSU Challenge #8 – Anything Goes
Incy Wincy Designs Challenge #82 – Use Punches or Dies
Paper Pretties Wednesday Challenge #142 – Glitter
The Pixie Cottage Challenge #58 - Sketch and/or Something Cute!
Top Tip Tuesday Challenge #23 – Bling It On
CES Challenge #24 - Spots and Stripes
The Creative Cottage Challenge 33 – Florals
15 comments:
So cute! Thanks for sharing your creation with us at DYSU! Hope to see you next time!
Your card looks great with its bright colours and the cute bunny.
Thanks for joining us at Creative Inspirations this week.
Hugs from Bea
I love bunnies, and this card is gorgeous Marie, great paper carrot
thanks for joining the DYSU challenge this week
hugs
Miranda
Great card! Thanks for joining us for this week's CES Challenge!
Jane
x
Cute! Just love this bunny and your "carrot"!
Oh this is one great image super detail on this too,bless you for playing at creative inspirtions,this week,hugs cheryl xxx
That is a very cute card and image! Thank you for joining The Pixie Cottage Challenge.
Hugs,
Nanda
Hey :) I LOVE this fun card! Thanks so much for sharing your anything goes card with us at DYSU this week :D Janna
I love how you used a christmas ornament shape to make a carrot, fantastic! it looks great and the card is so fun!
thanks for playing with us at Paper Pretties.
Such a cute card, I love how you used the 'carrot' shape and the bunny border punch is adorable. Thanks for playing along at Lexis Creations Sharon x
What a great way to create a carrot! It looks fantastic! Great coloring on the darling image!
Very cute, love the image and the colors. Thanks for joining us at Do You Stack Up.
-Wenche
Great idea with the die! FAb card :)
Thanks for joining Paper Romance this week!
Hugs,
Sandra P
What a super fun card - and I love your "carrot".
Thanks for joining in with us at the creative cottage challenge blog x
((hugs)) Suzie xoxo
Adorable card, Thank you for joining us at Creative Inspirations with our distressing challenge. We have a new challenge, using a Template, we would love to see you rejoin the challenge using any kind of template.
Hugs
Suzi x
Post a Comment